
Jira Github Integration: How-to Guide and Best Practices


Start using Visor today
- Visualize all your projects and data

- Roll up multiple projects into portfolio views
- Try Visor for FREE
A Github Jira integration is the most popular Jira integration (according to Google search data) for good reason: software teams typically use both tools. Jira is the project management tool of choice for most software engineering teams, while GitHub is where engineers go to host repositories, track code, and even share knowledge.
Naturally, Atlassian offers a plug-in for GitHub and Jira, which has 150,000+ installs and a 2.7 (out of 4) rating.
In this post we’re going to dig into how you can integrate GitHub with Jira so that you can match your GitHub code with projects in Jira. We’ll be covering:
- Why you should connect GitHub and Jira
- How to set up Atlassian’s GitHub plug-in
- GitHub Jira integration best practices
After reading, you’ll be all set to set up your Github to Jira integration.
Is GitHub part of Jira?
Since they work so well together, you may be asking if GitHub and Jira are related.
The answer is simple – no, they’re not.
GitHub is owned by Microsoft and calls itself “the world’s largest developer platform.” Jira is an Atlassian product and considered the #1 agile project management tool in the world. Atlassian even has its own GitHub competitor – Bitbucket, so GitHub and Jira are distinct, separate applications.
Can Jira integrate with GitHub?
Because software engineering teams often use both products, there are many different apps and Atlassian plug-ins that connect Jira and GitHub.
Some of the Jira and GitHub integration apps in the Atlassian Marketplace include:
- Atlassian‘s (free) GitHub Jira integration
- Unito‘s GitHub + Jira sync app
- Getint‘s integration for Jira
- Gitconnector‘s GitHub Jira Connector
In this post, we’ll mainly cover the app Atlassian created (since it’s free and has the most reviews), but we will briefly go over other options as well.

Overview of Atlassian’s GitHub for Jira Plug-In:
This Atlassian plug-in for GitHub and Jira lets developers:
- track GitHub commits, branches, and pull requests right in Jira
- reduces context switching between the two apps
- gives you visibility and keeps information accurate across platforms
- allows for automated updates
This plug-in (unlike many of the apps in the Atlassian Marketplace) is also free. However, this app does not work for Jira Data Center (which is unsurprising, as Atlassian has continued its commitment to mainly supporting Jira Cloud).
And while the reviews for this integration provide a lot of constructive feedback around its permissions, usability, and reliability, there are also happy users. (See below.)
It’s free! What’s not to like? It’s an easy and simple task to integrate it with github.com, and it’s possible to customize default branch-naming (for example adding a prefixed “feature/” to branches). Thanks to Atlassian for adding this free feature 🙂 – verified Atlassian Reviewer
How does Jira work with GitHub?
Atlassian’s GitHub for Jira integration works via webhooks (instead of an API).
The integration listens to webhook events in GitHub and immediately updates them in Jira in real-time. You can also use Jira’s smart commits feature to automate actions in Jira when a specific action happen in GitHub.
What this means in practical terms is when you’re using GitHub with Jira, you can easily connect code changes, pull requests, and branches to Jira issues, leaving a more detailed trail of info for people looking at a Jira issue. More visibility into your GitHub commits allows project managers using Jira to track progress more closely and creates an environment of accountability and learning.
Connect GitHub to Jira – why?
One of the main reasons to use a GitHub Jira integration is that it can let you connect your GitHub repositories with Jira, so you can link code changes, pull requests, and branches to specific Jira issues.
A Jira and GitHub integration:
- delivers better code review and more context within a Jira issue
- provides accurate tracking of work, code, and more
- offers increased visibility for managers, other engineers, and even stakeholders
- makes work more trackable, leading to better accountability
- fosters an environment of collaboration among engineers
- streamlines your project pipeline, allowing code to travel from dev teams to QA teams and so on
To quote a user of Jira’s GitHub integration:
“I am now saving a lot of time as everything I need is record without any action from me. I just need to identify the ticket in the commit. Commits, branches and pull requests are recorded. I can also make a comment from the commit or change transition.” – verified Atlassian reviewer
How to integrate Jira with Github
After finding out why you should connect GitHub and Jira, your next question is probably how do I do it? Luckily, it’s a simple process, and we’re going to walk you through it step by step.
Step #1: Make sure you have the accounts and permissions you need
If you don’t already have a Jira Cloud account, sign up for one. Ensure that you have the necessary permissions to configure integrations. You’ll have to be a Jira administrator to install this integration.
If you are not a Jira site administrator, you’ll have to talk to yours to get their help installing this free Jira and GitHub plug-in. Likewise, you’ll also need a GitHub account with administrator privileges.
If different people are administrators of Jira and GitHub, you will need to do some coordination so that one of them gets elevated to administrator to the other app. Otherwise, this installation will simply not work.
Assuming you have that all the administrator requirements figured out, log onto the Jira and GitHub accounts you want to connect, and you’re ready to get started.
Step #2: Go to the Atlassian Marketplace
The GitHub for Jira integration is available from the Atlassian Marketplace, and installing it is pretty simple. You can find a direct link to the integration here.
If you have multiple sites, the app will ask you which one you’d like to install GitHub for Jira on.
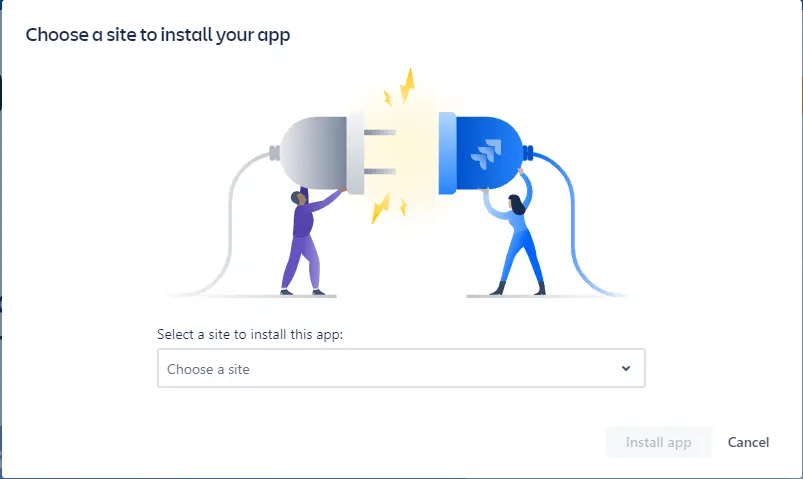
Then the app will ask for permission to install. Afterwards, you’ll receive a short message indicating the app has been installed successfully.

Step #3: Set up the app
Once you’ve installed the app, you can set it up from Jira. Go to the Apps dropdown menu. If you don’t see GitHub listed, go to “Manage your apps”, and you’ll see it listed there. Click the “Get Started” button, and a popup will appear asking if you want to connect GitHub to Jira.

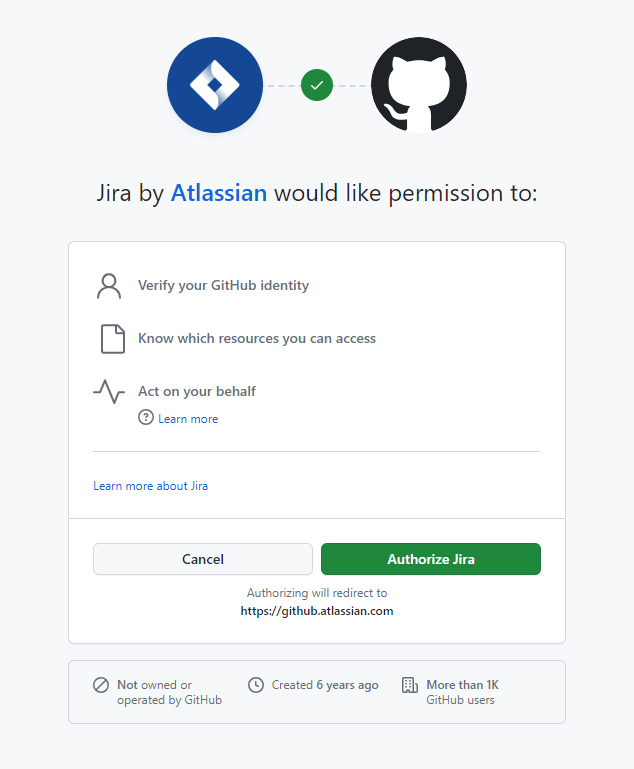
Click the “Continue” button, and you’ll see an authorization screen asking for access to your GitHub account.
Step #4 (Optional): Jira GitHub Integration Security Options
If you’d like to further limit who can access certain repositories, choose “Only select repositories” during this plug-ins integration (instead of allowing access to all repositories).
Once you authorize Jira, you’ll have connected Jira and GitHub and the integration will be up and running.
If you want to nerd out on more security options you can take to do things like limit branch creations in Jira or limit access to Jira projects in GitHub, this answer in the Atlassian Community is the most actionable security advice we’ve found online about this plug-in.
The Atlassian Community is filled with expert advice. Create a free account to lurk or ask questions!
How do I link a GitHub branch to a Jira ticket?
Linking a GitHub branch to a Jira ticket is a straightforward process. Here’s how to do it:
- First things first, ensure you have the Jira integration set up in your GitHub repository. If not, check out the previous section to learn how to set your integration up.
- Once that’s in place, navigate to the GitHub branch you want to link. On the right side of the branch, you’ll find an ellipsis (three dots). Click on it, and you’ll see an option to “Link to a Jira issue.” Select this.
- A pop-up will prompt you to enter the Jira issue key. Paste the key of the Jira ticket you want to link with the branch, and voila! Your GitHub branch is now connected to the corresponding Jira ticket.
Jira Github Integration: Pull Request
Once the integration between Jira and Github is setup you can create pull requests from within Jira. To do this:
- Select the Jira issue you want
- Click on the “Show Git Development Panel” button (you’ll find this in the top right of the issue screen)
- Select “Create Pull Request”
- Select the GitHub repository you want from the drop down menu
- Select the branch you need to merge from the “Source Branch” dropdown menu (as the name implies this is the branch you want to merge data from
- Then choose a branch from the ‘Target Branch” dropdown menu (again as the name implies, this is the branch you want to merge data into)
- Adjust the auto generated title in the “Title” field, to match with any naming conventions you have
- Check everything is correct, and when you are ready click the “Create Pull Request” button
- View the pull request by navigating to the associated Jira issue, click the “Details” panel and see your recent pull request alongside any other pull requests associated with this issue, and each pull request’s status.
GitHub Jira integration best practices
Once you have your GitHub Jira integration set up, here are a few tips for keeping everything running smoothly and getting the most value out of your integration:
- Keep your links consistent: If you have a regular method for creating links between Jira and GitHub, you’ll make it easier to travel between the applications and easier for users to to understand your link structure.
- Regularly sync GitHub and Jira data: Schedule regular syncs between GitHub and Jira to keep data up-to-date. This ensures that changes made in one platform are reflected in the other, maintaining accurate records.
- Control who accesses your data: Make sure you set up controls to GitHub repositories so that only authorized team members can access and change code to keep your projects secure.
Other Free Jira Integrations to Check Out
A Jira GitHub integration is just one way to connect your data across teams. Below, we have a few other free Jira integration options that can help your team streamline your processes more smoothly.
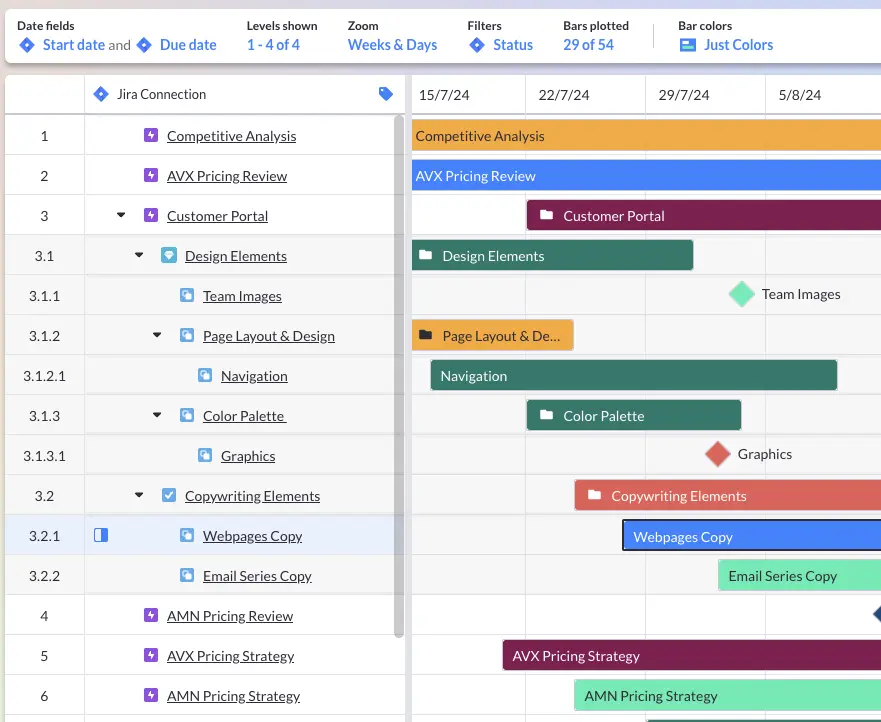
1. Visor’s Jira Integration for Portfolio Roadmaps & Reports
Visor’s bi-directional Jira integration makes it easy to create Jira spreadsheets, capacity-planing charts, Jira roadmaps, Jira dashboards, and other visualizations that you can share with anyone — even stakeholders, clients, or team members who don’t use Jira.
Because Visor allows users to import multiple Jira projects, Visor is is a popular portfolio app for Jira.
To find out more about Visor and how you can use it to provide better visibility to your data (or even use it for Jira Guest Access), you can try Visor for free.
Visor also offers a free Jira Asana integration and Jira Salesforce integration.
2. Atlassian’s Jira Google Sheets Integration for Project Management
The Atlassian Marketplace offers a lot of plug-ins for Jira; one of the most popular free integrations is the Jira Google Sheets integration (also created by Atlassian).
This one-way integration is free and is best for bringing in Jira data into Google Sheets. However, you can’t push changes back to Jira from Google Sheets. We go over how to use this free integration in the video below.
3. Atlassian’s Jira Slack Integration
If your company uses Slack and you want to be able to do things like create a Jira ticket from Slack or get Jira notifications in Slack, then check out how guide to Atlassian’s Jira Slack Connector.
This app is free and allows you to do things like send a DM to @Jira right in Slack or decide which actions in Jira will trigger a Slack message.

Conclusion: Jira Integrations Make Teams More Effective
Jira integrations can help reduce context switching, create more visibility for colleagues, and help teams develop an environment of knowledge sharing. Atlassian’s Jira GitHub integration is free and provides a tremendous amount of value for the price.
There are other Jira integrations (like Visor!) that help teams collaborate across different systems or simply visualize their portfolio of projects. Visor also offers Jira-friendly templates like an agile project plan template.
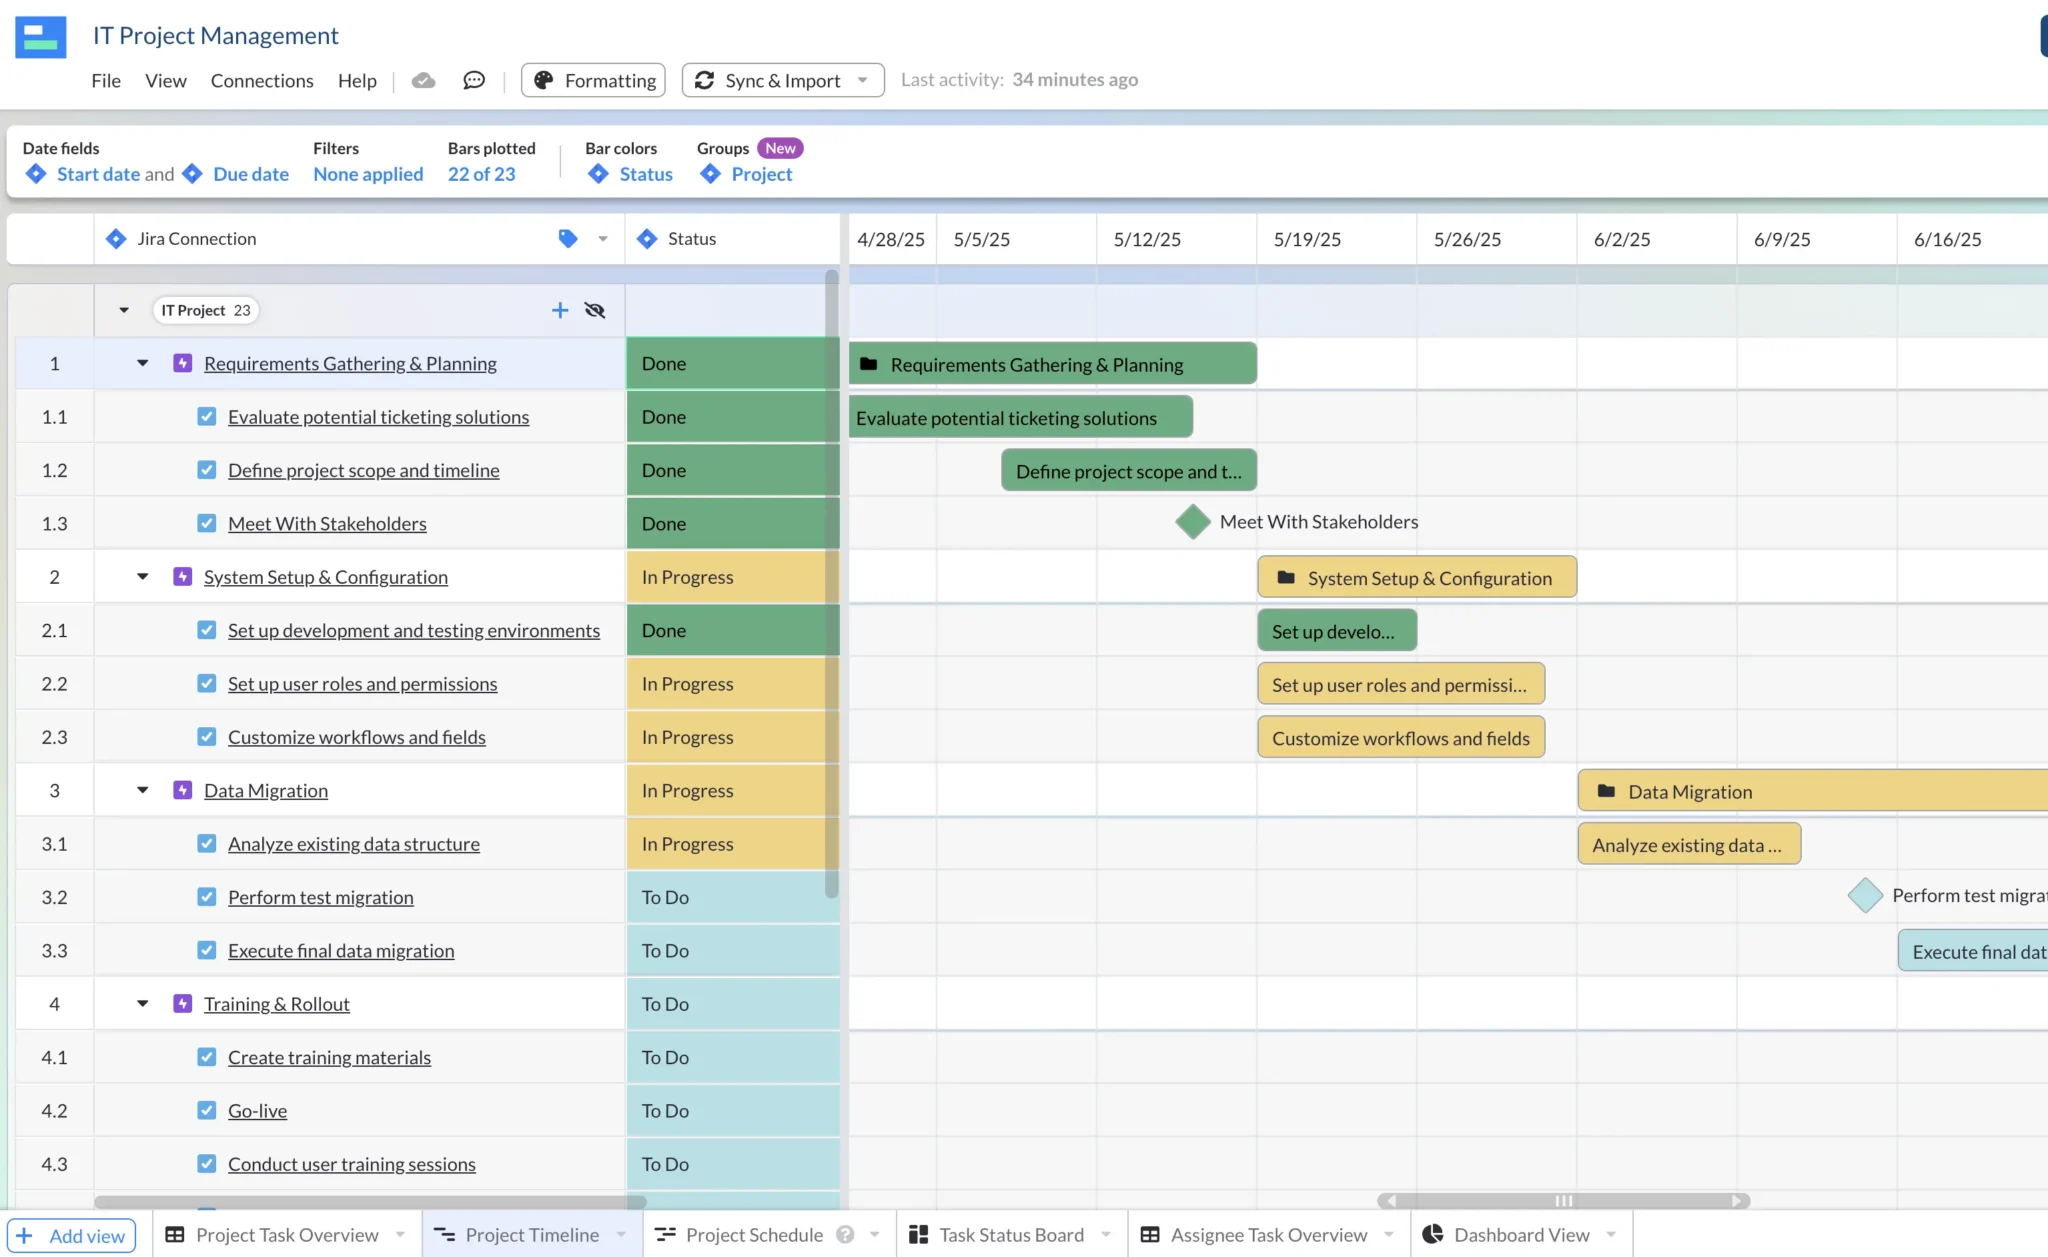
IT Project Plan Template Example with Jira Data:
No matter what Jira integration you choose, take time to configure it to your liking and be mindful of what access you give people across various systems. Atlassian’s online Community provides a wealth of information you can search to see how other people work with Jira integrations and Jira plug-ins.
Atlassian’s Marketplace also offers a lot of helpful reviews that can help guide you toward the best Jira integrations and apps for you.